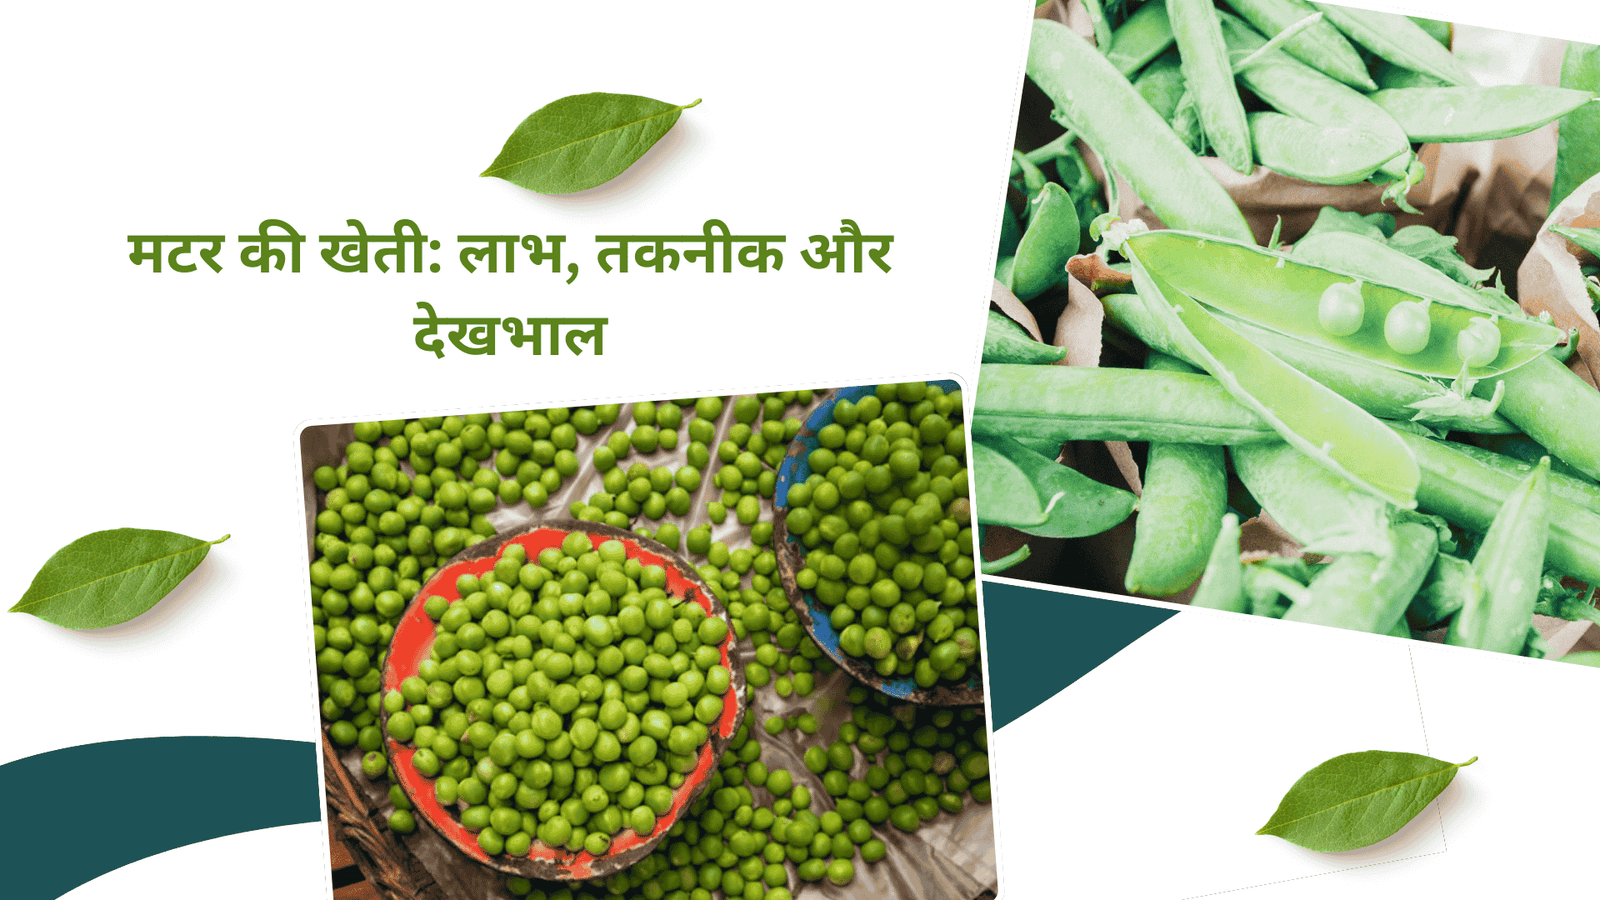
Peas are a versatile, nutrient-rich legume enjoyed around the world, whether fresh, canned, or frozen. For home gardeners and commercial farmers alike, peas are rewarding and relatively easy to grow. Yet, like any crop, Pea Cultivation requires a solid understanding of the best planting times, seed quantity, and essential practices for boosting production. In this guide, we’ll explore the step-by-step process for growing a bountiful pea harvest that can flourish in a range of climates and soil types.
1. Understanding the Basics of Pea Cultivation
Growing peas isn’t complicated, but it does require basic knowledge of the plant’s biology and environmental needs. Peas, scientifically known as Pisum sativum, belong to the legume family, which makes them efficient at fixing nitrogen in the soil – a bonus for gardeners looking to improve soil quality naturally. They thrive in cool weather and prefer well-drained, loamy soil that supports their shallow root systems.
Types of Peas
Before diving into the planting process, it’s essential to know the three main types of peas:
- Garden Peas (Shelling Peas): These peas are grown primarily for their seeds, which are removed from the pod before eating.
- Snow Peas: Known for their edible flat pods, snow peas are often used in stir-fry and salads.
- Snap Peas: A hybrid between snow and garden peas, snap peas have a sweet, crunchy pod that can be eaten whole.
Each type of pea has slightly different planting and harvesting requirements, but all can thrive with the proper care.
2. Choosing the Right Planting Time
Planting peas at the right time is crucial for healthy growth. Peas are a cool-season crop, meaning they perform best in temperatures ranging from 50°F to 70°F (10°C to 21°C). Here’s a breakdown of when to plant based on climate:
- Spring Planting: In most regions, peas should be planted in early spring, as soon as the soil is workable. This is typically 4 to 6 weeks before the last frost date.
- Fall Planting: In areas with mild winters, peas can be planted in late summer for a fall harvest. However, avoid planting during peak summer, as hot temperatures can stress the plants and hinder growth.
Remember, timing is key. Early planting allows peas to establish before warmer weather hits, giving them a longer growing season and higher yields.
3. Preparing the Soil for Planting
Good soil preparation sets the foundation for a successful pea crop. Peas prefer soil that is:
- Well-draining and Loamy: Heavy, clay-rich soils can lead to waterlogging and root rot, while sandy soils drain too quickly.
- Slightly Acidic to Neutral pH: Aim for a pH between 6.0 and 7.5 for optimal nutrient availability.
- Rich in Organic Matter: Peas don’t need excessive fertilizers, but they do appreciate organic matter like compost. Adding aged manure or compost to the soil a few weeks before planting can enhance nutrient levels and moisture retention.
Soil Preparation Steps
- Test the pH Level: Use a soil test kit to determine if any amendments are necessary.
- Till and Remove Debris: Till the soil lightly and remove stones, weeds, and other debris that might obstruct pea roots.
- Incorporate Organic Matter: Mix in compost or well-rotted manure to improve soil structure and fertility.
4. Determining the Correct Seed Quantity
Understanding how much seed to plant is essential for both small and large-scale growers. The amount of seed depends on the spacing requirements and the planting area:
- Home Gardens: For a small garden, you’ll need about 2 to 3 ounces of pea seed per 10 feet of row.
- Commercial Fields: Larger operations typically require around 80 to 120 pounds of seed per acre.
Always consult seed package recommendations, as some pea varieties may have different spacing needs. In general, overplanting should be avoided as crowded plants can reduce airflow and increase disease risk.
5. Planting Process for Peas
Once you’ve prepared your soil and calculated the seed quantity, it’s time to plant. Follow these steps for optimal growth:
- Create Furrows: Using a hoe, dig shallow furrows about 1-2 inches deep and spaced 6-12 inches apart.
- Plant the Seeds: Place seeds in the furrow, ensuring a spacing of 1 to 2 inches between each seed.
- Cover and Water: Gently cover seeds with soil and water thoroughly. It’s best to keep the soil moist but not waterlogged during the germination period.
Tips for Enhancing Germination
- Presoak Seeds: Some gardeners prefer to soak pea seeds overnight before planting, as this can speed up germination.
- Use Inoculants: Applying a pea inoculant can help improve nitrogen fixation, leading to healthier plants and better yields.
6. Managing Watering Needs
Peas need consistent moisture but are sensitive to waterlogged soil. Over-watering can quickly lead to root diseases, so striking the right balance is essential. Here are some watering tips:
- Initial Watering: Keep the soil moist during germination, typically watering every 2-3 days.
- Post-Germination: Once plants are established, water less frequently, but increase the volume to ensure deep soil penetration. Aim for about 1 inch of water per week.
Consider using a soaker hose or drip irrigation for consistent, gentle moisture without wetting the foliage, which can help reduce the risk of fungal infections.
7. Fertilization Practices
Peas are not heavy feeders, but a little fertilization can go a long way. Given that peas naturally fix nitrogen in the soil, avoid high-nitrogen fertilizers. Instead, focus on balanced fertilizers:
- At Planting: Apply a balanced, slow-release fertilizer if soil tests indicate low fertility.
- Mid-Season: An additional side dressing of potassium or phosphorus may be beneficial if plants appear yellow or weak.
8. Supporting Pea Plants for Better Growth
Most pea varieties benefit from staking or trellising, which keeps plants off the ground and promotes better airflow. Trellising can reduce disease risk, increase sunlight exposure, and make harvesting easier. Consider these options:
- Simple Stakes: Insert wooden or metal stakes every few feet along the row and tie twine between them.
- Netting or Wire Trellis: For larger gardens, set up netting or wire mesh for peas to climb.
Ensure that trellises are at least 3-4 feet tall for garden peas and even taller for varieties that are vining.
9. Pest and Disease Management
While peas are generally resilient, they can be affected by pests like aphids, pea weevils, and diseases like powdery mildew. Use these techniques to keep plants healthy:
- Regular Inspection: Check plants weekly for signs of pests and diseases.
- Companion Planting: Grow peas alongside plants like mint or garlic, which repel pests naturally.
- Organic Sprays: For aphids, consider spraying with a mild soap solution or neem oil.
Avoid overhead watering and space plants well to prevent fungal diseases from taking hold.
10. Harvesting for Optimal Yield
Knowing the right time to harvest is key to ensuring that peas are at their peak flavor and quality:
- Garden Peas: Harvest when the pods are full and bright green.
- Snow Peas: Pick pods when they’re flat but fully developed.
- Snap Peas: Harvest when the pods are plump but still tender.
Regular harvesting encourages plants to continue producing, so pick every few days during peak season.
Conclusion
Cultivating peas requires careful attention to timing, soil preparation, and consistent care. By choosing the right planting time, calculating seed quantities, and using techniques like trellising and companion planting, you can boost your pea harvest significantly. Peas not only offer a nutritious addition to your table but also enhance soil fertility, making them an excellent choice for sustainable gardening. So, follow these guidelines, and enjoy a bountiful pea crop year after year!


