Today, editing a movie from the convenience of your laptop has never been easier with how powerful video editing software and hardware have become. This is your beginner or professional guide to get you on your way to basic movie editing on a laptop. Movie studios can be a good place, but
The Best Laptop & Software
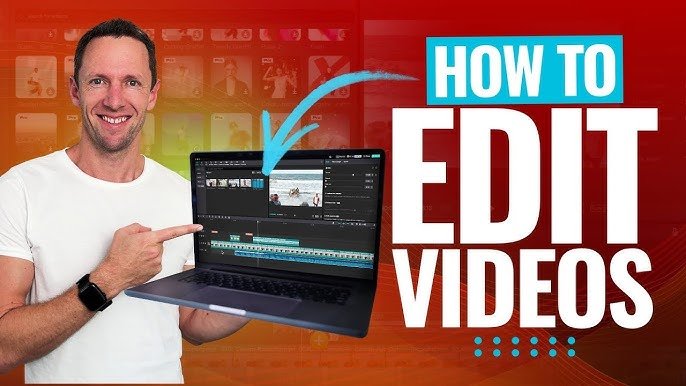
The first step in editing a movie is to make sure you have the right laptop and software.
Laptop Specifications:
Processor (CPU): Intel i5 or Ryzen 5
RAM: Recommended RAM is at least 8GB, but editing will be smooth with 16GB.
Graphics Card: You will need a dedicated GPU, such as NVIDIA or AMD, for rendering.
Solid-state drives (SSD): SSD is faster than HDD for transferring data, which can help to make the transfer speed of files fast.
Editing Software:
Selecting a movie editing software complements your skillset and requirements. Some popular choices include:
Adobe Premiere Pro (Pro)
Final Cut Pro (For Mac users)
DaVinci Resolve (Free and Studio)
iMovie (Easy to Use for Mac beginners)
Shotcut or Lightworks (Free -> User-friendly)
Import Your Media Files
After you select your editing software, the next thing to do is import your raw footage and audio (and other media if it’s needed).
Organized Files: If you put all your media files in only one folder, it can help you to unclutter your computer. If you do so, then categorize a spooky video as per format (video), in which I will suggest keeping such files to make things easy.
Import to your system: most software will allow you to simply drag and drop the file into your media library, or you can use the “Import” feature.
Create a New Project
Open your editing software and import all the types of media you took. Create a new project. Change the settings of your project to be compatible with the resolution and frame rate of your video (like 1080p at 24 fps or even 4k at 30 fps). This will ensure it is consistent throughout your final export.
Organize Your Clips on the Timeline
Remember, that all editing software has a timeline where you can sequence your video and audio files.
Step 1: Drag Clips to the Timeline Begin by dragging your primary video clips on the timeline.
Trimming and Cutting: You can trim and cut off those unwanted parts using the trimming and cutting tools. Concentrate on obtaining the key poses, and then tweak them.
Arrange the Story: Choreograph the clips in a manner that conveys the story and pay attention to pacing, and flow.
Add Transitions and Effects
As soon as you drop your basic sequence, you can then add transitions between clips and visual effects to spice up the movie.
Transitions: Insert basic transitions such as fades, dissolves, or wipes between scenes to minimize jump cuts.
Effects: Depending on the software, you may include color grading, slow-motion effects, and filters to your liking. Adobe Premiere Pro and DaVinci Resolve offer high-end color correction and grading features. A scriptwriter also uses this software to get along with it.
Incorporate Audio and Music
Audio has always been considered one of the most essential components of a movie. This step is where you want to be sure your audio matches up correctly with your images, and you can add background music or sound effects here to create the mood.
Separate dialogue: SFX, and back music in audio tracks for more management.
Volume Adjustment: Adjust volumes at variable times to enhance voice clarity and with fade-in/fade-out effects around transitions.
Use Royalty Music: If there’s a need for background music, then use royalty-free tracks/not copyrighted music to avoid copyright claims.
Apply Titles and Subtitles
When it comes to having titles, end credits, or subtitles on your movie,. Now is the time to include them.
Titles and Credits: Nearly all editing software provides pre-made templates for adding text. Same as above but tailored to your movie title, cast and crew details, etc.
Captions: For movies that have their captions with them, you can add the text on-screen yourself through most software and manually match when the character speaks.
Review and Refine the Edit
After you complete the simple edit, watch the video through again (start to finish) and jot down anywhere that needs tweaking.
Make Cuts: Review the timeline for any cuts that are too long or short and refine them.
Listen for flaws: Make sure the show has all its T’s crossed, a high glitch profile, and odd going-to-transition audio is non-existent.
Export the Final Movie
After all the editing, here it is your time to export the movie.
Select Export Settings: Depending on our usage (YouTube, Cinema, Social Media), choose the correct export settings. Almost all editing software has preset export options, such as 1080p for the web, or 4K for high-quality export.
Share: Export the movie to your format of choice (e.g., MP4, MOV) and make sure the file size will fit on your platform.
Share Your Movie
Once you have it exported, you can show your movie to the world. Upload it on platforms like YouTube, and Vimeo or share it on social media and have a private screening on-demand.
Conclusion
Movie editing on a laptop can be a fulfilling experience, given that you have the necessary tools, know-how, and creativity. Combining powerful software, a good workflow, and focus on those little details will result in a polished movie created right from your laptop without compromising on quality.